Friday, November 4, 2011

The Dirt: Frosty Friends

 
For this month's edition of The Dirt, we're bringing you some Festive and Frosty Friends that are sure to cheer up any holiday display! Instead of painting the same green and red on everything, try this simple Snowman on a classic ornament shape!   

Pssst! As your studio fills up with customers hungry for new ideas, did you know you can print our project PDF's to hand out to painters? One studio told us that they keep the projects in an inspiration binder that they keep with their idea books. The Frosty Friends PDF can be found here. Check out our Technique Sheets area for more project ideas!  


Frosty Friends

Frosty never had it so good! This spunky little Snowman is sure to bring a smile to your face. Try switching up the designs and colors to make an adorable set!


MATERIALS

2061 Button Ornament
9591 Paint Dotters
9630 Detail Writer Bottles
9635 Fine Writer Tips
CN074-8 Really Red
CN141-8 Light Aqua
CN182-8 Bright Kiwi
CN253-8 Dark Black
CN504-8 Neon Orange
CN522-8 Really White Sprinkles
Assorted Royal Aqualon Brushes


TOOLS

Sponge
Ball Point Pen or Pencil


INSTRUCTIONS

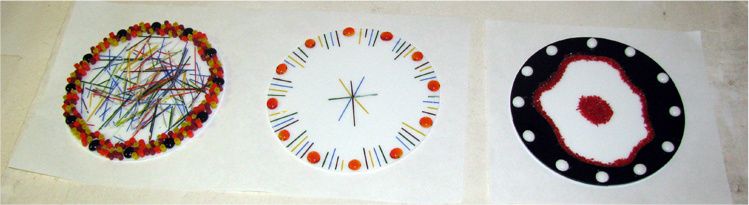
1. Lightly wipe ware with a damp sponge to prepare surface for painting.

2. Sketch three interlocking circles onto the ornament with ballpoint pen or pencil. You may wish to trace the circles onto contact paper, then apply the contact paper to the center of the ornament. You can use the bottom of paint bottles or round stickers to create this shape!

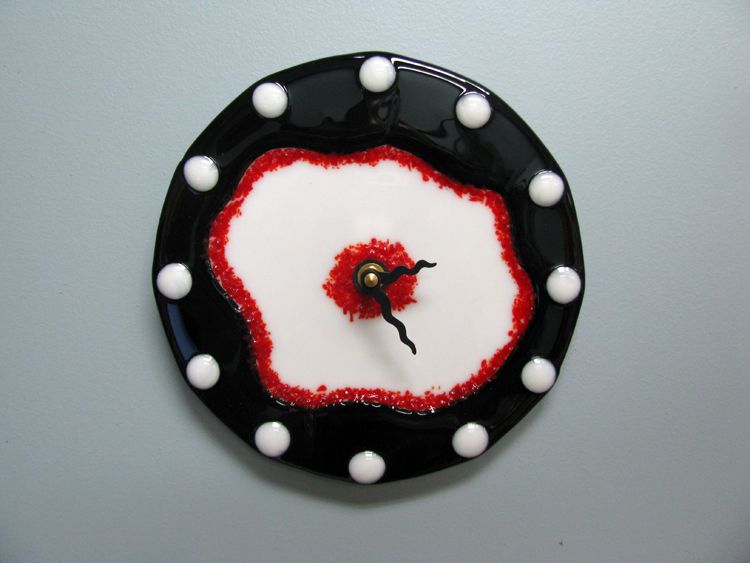
3. Apply a thick coat of White Sprinkles around the Snowman. Use short brush strokes to evenly spread the sprinkles. Tip: You may want to prop your ornament on a stilt so you can easily access each side as the paint dries. Once the wash is dry, remove the contact paper by lifting the edge with a straight pin.

4. Add a little water to the Light Aqua. Using a round brush, fill in the snowman shape with a thin wash.

5. Using a thin brush, paint small dashes of color along the head and body of the snowman to create a scarf. Alternate using Really Red and Bright Kiwi to create a striped scarf and toboggan.

6. Using a Detail Writer with a fine tip, outline the snowman in short Dark Black strokes. Add dots and short dashes of black to create the effect of movement. Then, you can add black buttons, eyes, a mouth, and stick arms. Create a carrot nose with a short stroke of Neon Orange.

7. Dip a small paint dotter into the Really Red and create a dotted outline around the edge of the ornament. Fill in the spaces in between each dot with smaller Bright Kiwi dots. (We used the rounded end of a paintbrush.)

8. Using a fine tip detail writer, paint small snowflakes around the snowman in Bright Aqua.

9. Finish your ornament with a message along the bottom of the Snowman and on the opposite side of the ornament! You can write a holiday message, a family name or the year.

10. Let Dry. Dip in Pure Brilliance Clear Glaze. Fire to cone 06.


As always, there's tons more ideas and inspiration to be found in our Resources area.  Good luck, and enjoy the Holiday season!

Tuesday, November 1, 2011

What time is it? It's Warm Glass Clock Time!!!


Fall Back. My least favorite time of year. Don't get me wrong, Fall is my favorite time of the year...cooler air, leaves changing, candy corn, pumpkin pie, football, etc. are all awesome. I'm just not crazy about it getting dark outside around 5 o'clock.

So, what better way to ward off the Fall Back depression than a super happy fun happy super fun project. I could think of nothing more appropriate than making a clock, or actually clocks. This way I can put them all over the place as a reminder to set my clocks this weekend and hopefully I won't come to work an hour early on Monday.

Anyway, I hope you enjoy the following pics and get inspired to make your own clock! to make the clocks I decided to use white circle blanks to hide the clock body.

Clock 1

The first clock face I made didn't require the use of any tools. I used a sharpie to mark where the hour marks would go, which are represented by Cherry Red Pebbles. Then I added Yellow, Green, Purple and Blue Stringers for the minute marks. I didn't want them to all be uniform in length, so I just broke them at different lengths by grabbing all four stringers at a time and snapping them in my fingers the same way you would break a pencil, just in about 1" increments. I put a small bead of glue in between the pebbles and laid the Stringer pieces in place in random color orders. I just made sure all four colors were in between each pebble. Then I added pieces of the same four stringer colors in the center to tie it all together.

Materials:
8" White Glass Blank (#GBC8-200)
12 Cherry Red Pebbles (#GP151)
1 each of Yellow, Blue, Green and Grape Stringers from a pack of Mardi Gras Stringers (#SM96)
1 Clock Body (#8500)
1 Set of Clock Hands (8504)


Clock 2


The second clock face only required the use of one tool, the Wheeled Nippers. I did the same pebble placement for the hour marks on this one, but used black Pebbles this time. I created a rim around the clock using Red, Orange and Yellow rod dots. I nipped two full rods of each color for the border. I didn't want all the rod dots to be the same size, so I just nipped them into a bowl. In the middle of the clock I used the full color assortment of Mardi Gras Stringers and broke them the same way as the other face, by snapping them in my fingers. As I snapped the stringers, I sprinkled them in the center and tried to cover the entire area.


Materials:
8" White Glass Blank (#GBC8-200)
12 Black Pebbles (#GP1009)
2 each of Yellow, Red and Orange Rods (#RO267-72-96, #RO2502-96, and #RO2702-96)
1 Clock Body (#8500)
1 Set of Clock Hands (8503)


Clock 3


For the third one, the only tool I needed was a glass cutter. I would say this one takes a little bit of skill with the cutter and a good feel for running score lines. You'll see what I mean in a minute. I started with two blanks, one black and one white. I wanted to make a funky organic looking black rim around the white face. This is how I made the rim using the "self healing" properties of glass to my advantage. I call this the easy man's way to cutting rings, but this is what I was talking about when I said it required a little skill to do this piece. I cut the black blank in half and made a wavy arched score on one side. Then I laid the two halves back together so I could find the start and end points of the wavy arch for the second side and made that score line. Next, I gently ran the scorelines and broke out the two halves of the ring. That was the hard part. The cool thing is that the seams between the two will heal when the piece is fired. I glued the ring in place and then ran a bead of glue around the inside of the ring. Then I poured Red Opal Frit in the middle and brushed it into the glue to make the ring border. After that I made a circle of Red Opal Frit in the middle of the face and placed white pebbles to represent the hour marks and I was done!


Materials:
8" White Glass Blank (#GBC8-200)
8" Black Glass Blank (#GBC8-1009)
12 White Pebbles (#GP200)
Jar of Red Opal Frit in Medium texture (#2502-96-F3)
1 Clock Body (#8500)
1 Set of Clock Hands (8501)

After all three were made, the only thing left to do was contour fire them, drill 3/8" holes in the center for the clock bodies, and hang them on the wall.

To see pictures of the clocks before they were fired, go here